Online Video Editor No Watermark: Pre-Export Checklist
By the video97 editorial teamNo ratings yet
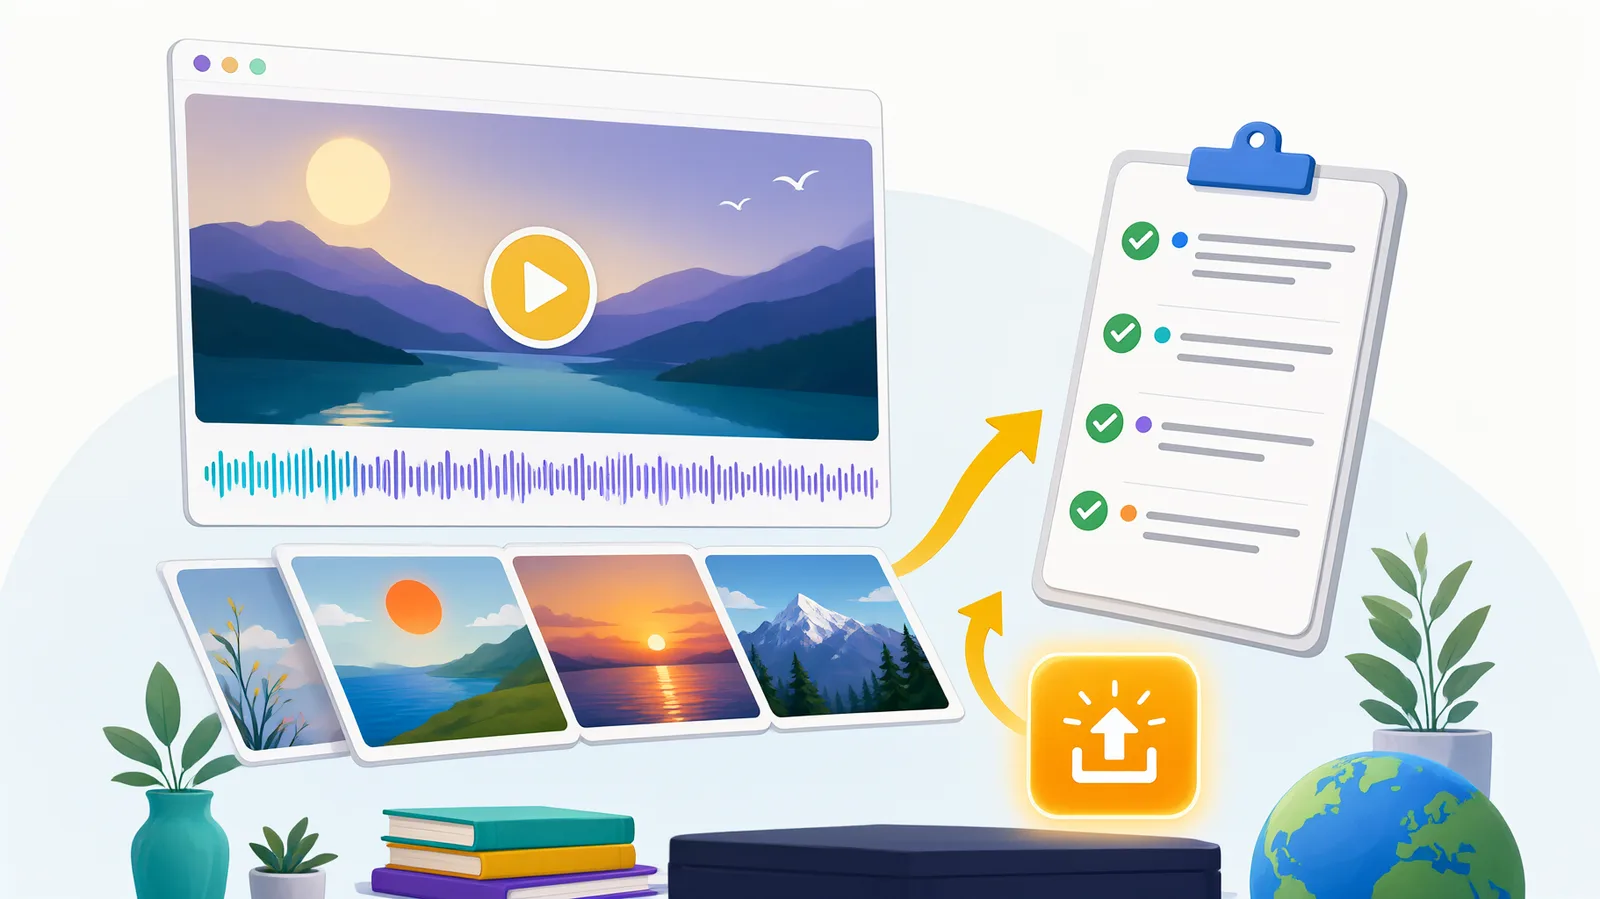
Run through this checklist before you hit export. It takes two minutes and saves you from re-uploads, demonetization, and a messy comment section. Whether you're pushing a long-form tutorial or a 30-second Short, these steps apply to any project built in a browser-based video editor like video97.
1. Export Without a Watermark
Free online editors often stamp a logo on your video. That watermark makes you look like an amateur and can get your YouTube video flagged for re-uploading. Use an editor without one, like video97. Still, verify before export:
- Check every corner of the preview frame for a logo, especially the bottom-right.
- Some editors add a watermark only on AI-generated clips, so scrub through the timeline.
- Confirm the export format is MP4 (H.264). If the editor offers WEBM or MOV, choose MP4, it's the safest for YouTube.
- If you see any overlay text or logo in the preview, look for a "remove watermark" option in the settings. With video97, that's already gone.
Viewers leave in the first 10 seconds if a watermark breaks immersion. And while a watermark won't hurt your revenue if you monetize later, it kills trust.
2. Match Resolution and Frame Rate to YouTube
YouTube will transcode your video anyway, but starting with the right specs avoids extra compression artifacts. Here's what works for most creators:
- Set resolution to 1920x1080 (1080p) as the minimum. If you're using AI-generated images or motion graphics, they may be lower resolution, upscale them to fit, not the other way around.
- Use 30 fps as standard. For gaming or fast motion, go 60 fps. Mixed frame rates cause stutter, so make sure all clips, including AI-generated ones, match the sequence setting.
- Set aspect ratio to 16:9 for regular videos, 9:16 for Shorts. Don't guess, set it explicitly in the project settings before you edit. If you already added clips, check that no black bars appear on the sides.
- If your editor lets you choose bitrate, use a high one: 10 Mbps for 1080p, 20 Mbps for 4K. Lower bitrate shows banding in sky or gradient scenes.
If you export at 720p then upload, viewers on big screens will see a soft image. YouTube also recommends specific codecs; mismatching frame rates can make your video look choppy after processing.
3. Check Audio Levels and Loudness
Audio is half the video. Bad audio gets you a comment like "turn up the music" or worse, you lose retention. Use these numbers as your baseline:
- Set loudness to -14 LUFS, YouTube's target. If your editor doesn't show LUFS, aim for a mix where dialogue sits around -12 dB to -6 dB on a VU meter.
- Keep peaks below -1 dB to avoid clipping. Watch for the red line in the audio meters.
- If you added background music, duck it to around -20 to -25 LUFS, or so that you can still hear it but it never overpowers the voice. video97's voice-over tool sets this automatically, but double-check after the timeline changes.
Test the audio on three things: laptop speakers, headphones, and a phone. If you have time, listen to the last 30 seconds of the video too. Many creators forget that the outro music can suddenly blare.
4. Verify Subtitles and Captions
If you added subtitles to video online, they need to be accurate and readable. Misaligned subtitles are worse than none.
- Keep subtitles within the lower third of the frame, about 5% from the bottom. Never extend beyond the left or right edges.
- A subtitle should stay on screen for at least 1 second and no longer than 7 seconds. For short punches like "Wow", 0.5 seconds is fine.
- Watch with the audio unmuted. Check that the subtitle appears exactly when the word is spoken, not a beat late.
- Use the spellcheck in the subtitle editor, but also read it out loud. AI transcription often mistakes "their" for "there".
YouTube provides captions for accessibility, but your embedded subtitles are what viewers see on mobile with sound off. Bad subtitles make you lose international viewers.
5. Review AI-Generated Motion Graphics and Video
If you used an AI tool inside video97 to generate motion video, images, or animated backgrounds, inspect each clip carefully. AI can create visual artifacts:
- Faces, hands, and text edges can smudge. Play the clip at its actual speed, not just the thumbnail.
- If the AI generated a pan, make sure it matches the flow of your narrative. For a tutorial, a left-to-right pan feels natural.
- AI clips shorter than 2 seconds cause a strobe effect. Extend them by adding a freeze frame or by using motion interpolation.
- The last frame of an AI clip likely blurs. Crossfade or cut to black before that point.
Set the view to 100% zoom and place the playhead at two random spots in each AI clip. If anything looks like a glitch, replace it or rerun the generation. A single weird frame ruins the professional look.
6. Run a Final Preview Loop
A real YouTube creator checks the whole video from start to finish, twice. Use the preview mode that simulates the YouTube player (video97 has this built in).
- Start the video at 0:00 and let it play without touching the mouse.
- Look for a black frame at the beginning or end, often caused by empty audio clips.
- Watch for jump cuts between sections where you trimmed. If there's a jump, add a cross dissolve or a cutaway.
- Check that any motion graphics you added (titles, lower thirds) are animated smoothly and don't overlap with faces.
- Note the timestamp of any moment that feels off, then fix those spots.
You can't edit after you upload. Re-watching catches the small things that make videos feel amateur.
7. Test the Exported File Before Uploading
After you export, open the MP4 in a media player like VLC. Don't upload blindly.
- A 10-minute 1080p video should be about 200-500 MB. If it's 50 MB, you've been over-compressed. If it's 2 GB, your viewer's buffering will struggle.
- Drag the playback bar forward and backward a few times. If the player freezes or shows green artifacts, the export is corrupted. Re-export.
- Watch a section with clear lip movement (like your intro) and confirm the audio matches the lips by 0.1 seconds. If it's off, the sequence frame rate was wrong.
- Zoom in on the four corners in the exported file. That's your final chance to spot an unwanted logo.
Once you've done this, you can upload with confidence. This checklist keeps your channel consistent. Every video you publish gives someone a reason to subscribe or a reason to click away. Take the two minutes, and you'll build a channel that feels like a real brand.
FAQ
Does video97 leave a watermark in the free version? No. video97 exports MP4 files without any watermark, even in free use. That's what makes it a practical online video editor no watermark for beginners and pros.
Can I use this checklist for videos I edit on my phone? Yes. The principles are the same: check resolution, audio, subtitles, and watermarks. Just adapt the tools to your mobile app.
This guide was written by AI and published automatically, without a review by our team. Check important steps in the editor, and tell us about mistakes. How we write guides
Ratings and comments
No comments yet. Be the first.