Make Motion Video from Photos Free: A Teacher's Guide
No ratings yet
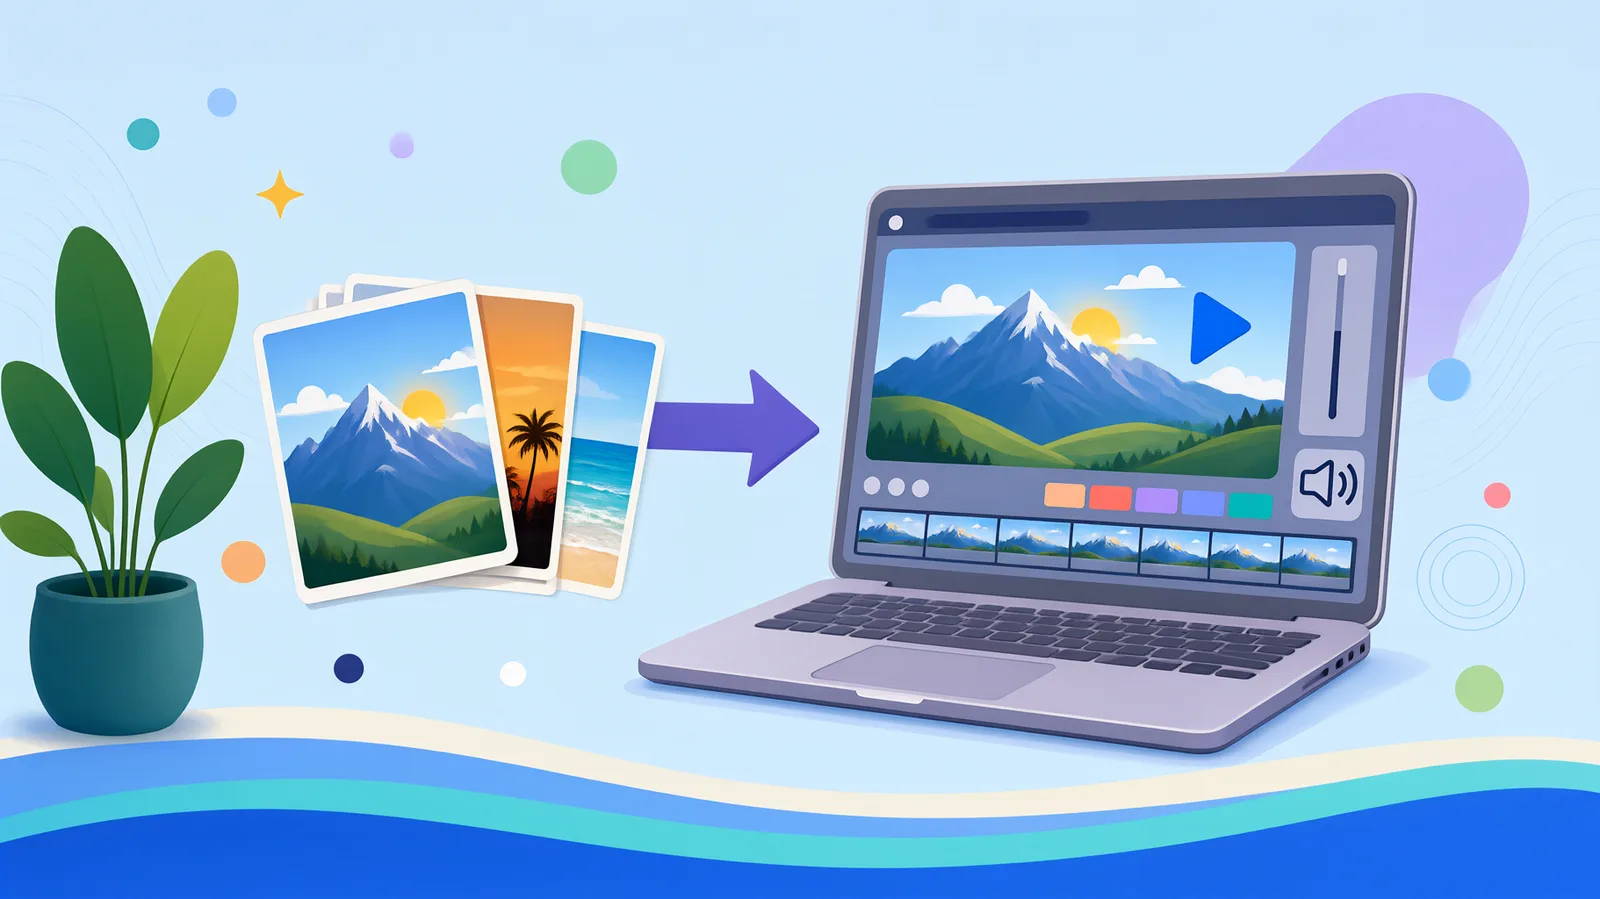
You have a pile of static images: photographs from a school trip, diagrams from a textbook, maps from a history lecture. You need to turn them into a short recap video for your students. A plain slideshow feels flat. What you really want is a motion video: each photo slowly zooming or panning, with a voice-over that explains the key points and subtitles that help students follow along. You can do all of this in a browser, for free, without installing anything. Once you know the workflow, a 1-minute motion video from photos takes about 15 minutes. Here is the exact start-to-finish process I use to build a lesson recap from still images, using the AI tools inside the video97 editor.
Step 1: Decide on the photos and the timing
The most important creative decision happens before you touch the editor. Choose a maximum of 6 photos for a 1-minute video. Why 6? Each photo, when given motion, needs about 10 seconds on screen to let the audience read the text or absorb the visual details. 6 photos × 10 seconds = 60 seconds of video, which is a good short-form length for a course intro or a recap of a single concept.
For my example project, I built a lesson on the Roman Empire. I used:
- 1 photo of the Colosseum
- 1 map of Roman trade routes
- 1 photo of Roman coins
- 1 diagram of a Roman aqueduct
- 2 text-heavy slides (a keyword list and a timeline)
Prepare your images at a 16:9 aspect ratio if possible. If your photos are vertical (like phone pictures), you can still use them, but the editor will crop them to fit the frame. To avoid awkward cropping, manually crop your images in any free image tool to 1920×1080 before uploading. This is the one preprocessing step that saves you the most frustration later.
Step 2: Add motion to each still photo
The core of a motion video is the Ken Burns effect: the slow zoom or pan that gives life to a still image. In the video97 timeline, upload all 6 photos and drag them into the order you want. Click on the first photo clip to open the motion graphics panel.
Here is the selection rule I always follow:
- Alternate zoom and pan. If photo 1 zooms in slowly, photo 2 should pan left or right. This creates visual variety and keeps the viewer awake.
- Zoom in on details. For a map, zoom in on the trade route you are talking about. For a photo of coins, zoom in on the center coin.
- Do not use fast motion. Set the duration of the motion effect to match the full 10 seconds of the clip. A slow, steady movement looks professional; a fast one looks amateur.
Apply a different motion preset to each of the 6 photos. The editor applies the motion to the whole clip automatically. For my Roman Empire lesson, I used: zoom-in on the Colosseum, pan-down on the map, zoom-in on the coins, pan-right on the aqueduct diagram, zoom-out on the keyword list, and a simple fade-in for the timeline.
Step 3: Generate the AI voice-over from a script
The next step is narration. Instead of recording your own voice (which requires a quiet room and a decent microphone), use the built-in AI voice-over generator. Write a script that matches the 6 photos. Each photo gets roughly one short sentence. For my Roman lesson, the script was:
“The Colosseum was the center of Roman entertainment. This map shows the trade routes that made Rome wealthy. Roman coins spread across the empire. Aqueducts brought fresh water to millions. These are the key terms from this lesson. Here is the timeline of the empire’s rise and fall.”
Open the voice-over tool, paste the script, and choose a natural-sounding voice. I selected a calm, mid-pitched female voice because it works well for educational content. The AI generates the audio clip and places it on the timeline automatically. Keep the script under 60 seconds of spoken text (roughly 110 words). If your script is longer, you will need more photos or faster pacing.
Step 4: Add subtitles automatically and check the timing
After the voice-over is in place, turn on the automatic subtitles feature. The AI listens to your voice-over and creates a caption track with timecodes. This is a huge time-saver compared to typing captions manually.
Once the subtitles appear, review the timing. The AI is very accurate, but if a proper noun or a technical term is slightly misspelled, correct it. Also, check the start time of the first subtitle. It should begin exactly when the voice starts. If it appears half a second too early or too late, drag the subtitle block slightly on the timeline to line it up with the audio waveform. This alignment matters because students read captions to reinforce what they hear, and a mismatch is distracting.
For my Roman lesson, the AI correctly transcribed "Colosseum" and "aqueduct," which was a relief. I only had to fix one word: it wrote "Roman" instead of "Rome." A quick edit in the subtitle panel fixed it.
Step 5: Trim the photos to match the voice-over and add music
Now you have a 60-second timeline with 6 photo clips, a voice-over, and subtitles. But your voice-over is probably only 40 seconds long, leaving 20 seconds of blank space at the end. This is where the trim tool becomes your friend.
My voice-over came out to 42 seconds. So I trimmed the last photo clip (the timeline slide) so that the total video length became exactly 40 seconds plus a 2-second end pause, making it 44 seconds. To do this, I clicked on the last photo and used the trim handle to drag its end point to the 44-second mark. The motion effect on that clip automatically compressed to fit the new length, which kept it smooth.
Finally, add background music. The editor has an AI music generator with a library of loops. For an educational video, I chose a soft ambient piano track. I lowered its volume to about 20% of the voice-over level. In the audio mixer, I set the music track to -18 dB and the voice track to 0 dB. This keeps the narration clear while letting the music add atmosphere without distracting.
Step 6: Export and verify the output
When the timeline looks good, export the video in MP4 format at 1080p resolution. This is the standard for online courses and works fine on YouTube, Vimeo, or your school's learning management system. The export takes about a minute because the tool processes everything in the browser.
After export, play the video once all the way through. Ask yourself these three questions:
- Does each photo stay on screen for roughly the same amount of time, except the last one?
- Is the voice-over audible over the music, and do the subtitles match the words exactly?
- Does the motion feel slow and deliberate, or does it jump?
If the motion feels too fast, go back to the motion graphics panel and extend the duration of the effect. If the subtitles lag by a fraction of a second, nudge them earlier. A single check-and-fix loop is usually enough to make the video look polished.
FAQ
Can I use my own photos, or do I need to create them with AI? You can upload your own photos directly. The AI features for images are for generating new visuals from a prompt, but the motion graphics, voice-over, subtitles, and music all work with any photos you upload. This is ideal for a teacher working with existing lesson materials.
Will this work on a school Chromebook or a low-end laptop? Yes, because the entire editor runs in the browser. There is nothing to install. As long as your browser is up to date, you can edit. The only requirement is a stable internet connection so the AI voice and subtitle features can process your request.
How long does it take to generate the voice-over and subtitles? It takes about 20 to 30 seconds for a short script. Generating the subtitles happens almost immediately after the voice-over is created. If the server is busy, it might take an extra minute, but you do not have to leave the tab open; the progress bar will show you when it is done.
This guide was written with the help of AI.
Ratings and comments
No comments yet. Be the first.